Short version: turn the ignition key before looting, distinguish required repairs from optional missions, keep complete tool sets together, and return before weather removes the route.
Before leaving the van
- Turn the ignition key. The failed start reveals the specific repair tasks for this run.
- Read the primary list. Fuel, oil, coolant, fuses, a battery and a tire do not require the same tool set.
- Check the optional mission separately. Newspapers, tapes, documents or coins can improve rewards, but they do not replace the escape objective.
- Look at the starting equipment. A crowbar, defibrillator, toolbox or scissor jack may already be available. Do not spend the first trip searching for what the van gave you.
- Agree on a return rule. “Come back when one complete repair set is ready” is clearer than “loot until the weather looks bad.”
A dead battery can disable van electronics such as the radar. If battery replacement is on the task list, treat it as an information problem as well as a repair.
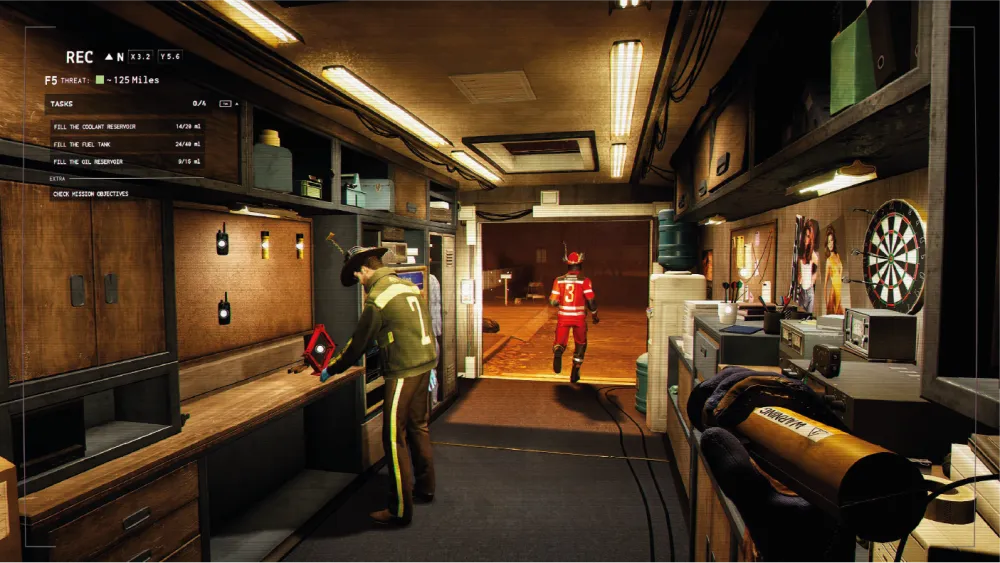
Build the first loot route around the task
The launch biome uses changing street layouts, changing area slots and more than 200 possible item spawn positions. Memorising a single “perfect route” is therefore weaker than recognising useful building types and returning complete repair kits.
- Mission-blue items first: when a pocket radar exposes mission-critical items, use it to cut search time.
- Garages are a strong first check: community gameplay repeatedly finds vehicle fluids and parts around garage-bearing houses, but this remains a tactic rather than a guaranteed loot table.
- Crowbar value depends on the current route: take one when boarded doors block nearby houses; leave it when inventory space is the larger constraint.
- Consume small recovery items on the move: do not carry low-value food for the whole match while a two-slot mission part is still missing.
- Leave optional lore behind under pressure: collectables support secondary tasks, not the van repair.
Let weather change the plan
The official systems treat weather as a chain of mechanical effects. Rain can make the runner Drenched, which slows movement and increases electrical damage. Acid rain and hail deal direct damage without protection. Lightning can create fires and fallen live wires.
| Signal | Immediate decision | Why |
|---|---|---|
| Wind rapidly strengthens | Move toward a van or enclosed structure and crouch before the pull becomes uncontrollable. | The official Solid Stance moodlet makes a crouched player heavier and more wind resistant. |
| Acid rain begins | Use an umbrella or remain under cover; avoid spending the whole health bar on one distant item. | Umbrella Cover blocks rain, acid rain and hail for the holder and nearby players. |
| Lightning storm | Leave open ground and inspect the route for fallen power lines and fire. | Drenched players take more electrical damage, and status effects can spread between nearby teammates. |
| Building starts collapsing | Abandon the interior and choose another route. | Destroyed areas stop yielding their former items and debris is itself a hazard. |
Repair in complete sets, then exit
Bring the parts and their required tools together. A tire alone does not finish a tire job: the official example requires the tire, toolbox and scissor jack. A battery replacement also needs the toolbox in observed gameplay.
- Drop the complete set at the correct van component.
- Start the interaction only when the local weather allows you to finish the timing checks.
- Confirm the task turns complete before leaving the van again.
- Close the van doors when using it as shelter.
- Once all primary tasks are complete, stop trading escape certainty for one more optional item.
Scale roles to the group
The developer confirms auto-balancing: smaller groups receive fewer stacked van problems, while bigger groups face more events and pressure. The map size stays fixed, so more players do not remove the need for coordination.
| Group | Working structure | Main failure mode |
|---|---|---|
| Solo | One complete repair set per trip; skip distant optional loot. | Too many partial items and no teammate to recover a failed route. |
| 2–3 players | Split nearby houses, keep one return runner, regroup on weather changes. | Everyone carries half of a different repair. |
| 4–8 players | Assign search sectors, a van mechanic and a weather/communications role. | Maximum map coverage with nobody watching the van or combining tool sets. |
Community-tested The route ordering above is a synthesis of official mechanics, a complete creator walkthrough and recurring Steam review patterns. Exact spawns are never promised.